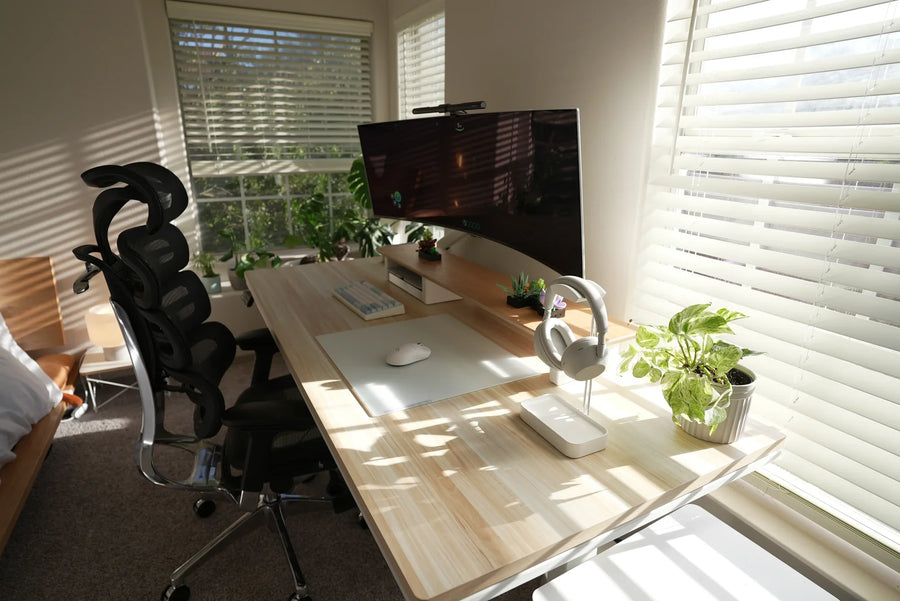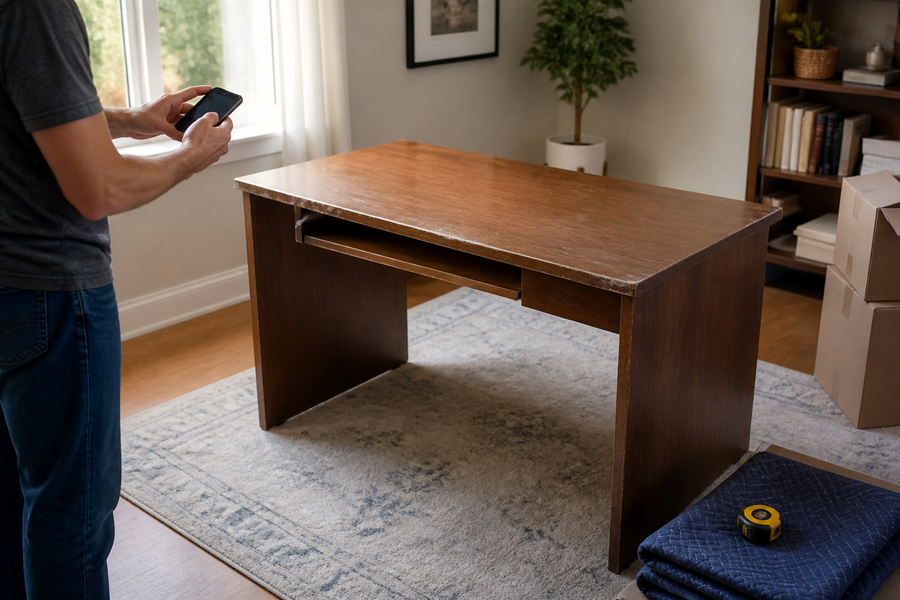
A support-first guide to monitor risers, temporary household options, stability checks, and the point where a compatible monitor arm makes more sense.
The right ergonomic setup should adapt to your body, support frequent movement, and stay comfortable through a full workday.
Yes. You can use a purpose-built monitor riser, the monitor’s adjustable original stand, a single rigid platform, or a compatible monitor arm to raise a desktop display. The right answer is not simply the object that reaches the desired height: it must support the monitor’s entire base, stay level and stable on the desk, leave the screen at a usable distance, and comply with the monitor manufacturer’s instructions.
Books or a sturdy box can serve as a temporary home-office solution, but only after a careful stability check. If the support flexes, rocks, slides, overhangs the monitor base, blocks ventilation, or has an unknown ability to carry the load, do not put a monitor on it.
First decide what you need the support to change
“Monitor stand” can mean two different things. A riser is a platform placed under the monitor’s existing base. A monitor arm replaces the original base and attaches the display to a desk or wall through a compatible mounting interface. This article focuses first on risers and other desktop supports; replacing the original base is a separate compatibility decision.
Start with the problem you can see, not with an accessory:
| What needs to change | Best starting option | Main check |
|---|---|---|
| The screen is slightly too low and rarely moves | Original height adjustment or a rigid monitor riser | Required lift, full base support, and stability |
| You need a temporary low-cost lift | One flat, rigid household platform or a uniform stack | No flex, rocking, sliding, or base overhang |
| You need more usable desk depth or frequent repositioning | A compatible monitor arm | Display, mount, desk, and installation compatibility |
| The screen is already at a comfortable height and distance | No added support | A riser would not make the screen too high |
The University of New Hampshire’s workplace guidance lists changing the table height, using a monitor arm, and creating or buying a stand as possible ways to adjust monitor height. That does not make every object a safe stand; it means the support should be selected around the actual workstation and display.
Measure the lift instead of guessing from your height
Set the chair, keyboard, and mouse first. Sit in the position you actually use, with the keyboard and mouse close enough that you do not have to reach. Then look straight ahead without lifting or dropping your chin.
- Mark your natural eye line. Ask another person to place a removable note on the wall at eye height, or measure from the desk to your eyes while you sit normally.
- Measure the screen’s current top edge. Measure from the desk to the top of the visible display, not the top of the monitor base.
- Find the lift gap. The difference is a starting estimate for the riser height. If the screen top is already at or slightly below your eye line, the required lift may be zero.
- Check distance at the same time. Raising a monitor should not force the screen closer because the riser is too deep or the desk is too shallow.
OSHA’s computer-workstation guidance places the monitor directly in front of the user, generally 20–40 inches (50–100 cm) from the eyes, with the top line of the screen at or slightly below eye level. These are useful starting points, not a requirement to force every person into one fixed position. Bifocal or progressive-lens users may need the display lower so they can read without tipping the head back.
If the needed lift changes between people, tasks, or sitting and standing, a fixed pile or fixed-height riser may solve only one of those states.
Household items can work temporarily—but filter them hard
Some university ergonomics resources explicitly mention books or boxes as ways to raise a screen in a home office. For example, the University of Minnesota work-from-home fact sheet includes stacks of books or boxes as possible screen-elevation tools. Treat that as permission to evaluate an improvised support, not as proof that any stack is stable.
Better temporary candidates
- one rigid wooden shelf or platform with a flat top and broad footprint;
- one large hardcover book that supports the entire monitor base without bending;
- a short, uniform stack of same-size hardcovers that cannot shift independently;
- a closed, rigid container only when its manufacturer permits the load and the lid does not flex.
A purpose-built riser is easier to evaluate because its dimensions and supported load should be documented. The FIRA Home Office Buying Guide identifies stability and adequate size as core monitor-riser considerations: the support surface should hold the monitor securely without wobbling or disturbing the display.
Supports to reject
- books of different sizes with uneven spines or slippery covers;
- open cardboard boxes, shipping cartons, or containers whose tops flex under hand pressure;
- plastic bins, trays, or laptop stands with no documented ability to support the monitor and its base;
- a platform narrower or shallower than the monitor’s full base;
- anything placed partly across two surfaces, such as a desk and a shelf at different heights;
- a computer case, speaker, or other equipment that can be damaged, block ventilation, or make the screen too high;
- any support that depends on tape, loose wedges, or a soft pad to stop obvious movement.
Do not clamp a monitor arm to a household riser unless both manufacturers explicitly approve that load and attachment. A monitor arm applies force at a small clamp or grommet area and creates leverage as the screen moves; a platform that safely carries a stationary base may not safely carry that attachment.
Run a support check before the monitor goes on top
Test the support empty first. This is the most important part of choosing what to use because a visually neat platform can still be too small or unstable.
- Confirm the footprint. Trace or measure the monitor base. Every foot and edge that carries load must land on the support with space to spare; no part should hang over an edge.
- Check the top and desk contact. The top should be flat, and every riser foot or side panel should contact the desk. Rocking at one corner is a failure, not something to hide with a loose shim.
- Apply moderate hand pressure. Press down at the center and near each corner. Reject visible flex, cracking sounds, lid collapse, separation, or shifting layers.
- Check horizontal movement. With the support still empty, nudge the desk and lightly push the platform from each side. It should not skate, twist, or tip.
- Plan cable slack. The power and display cables must reach without pulling the monitor toward the back or side. Keep ventilation openings and power connections clear.
- Inspect the desk below. The desktop itself must be sound, level, and able to carry the monitor and support where they will sit. Stop if the desk is cracked, bowed, loose, or damaged.
If the support has a published load limit, compare it with the monitor’s complete weight including its original base. Do not use screen size as a substitute for weight. If the monitor manual limits the permitted stand or surface, follow that instruction even when the platform passes the checks above.
Use a riser when the setup is fixed and simple
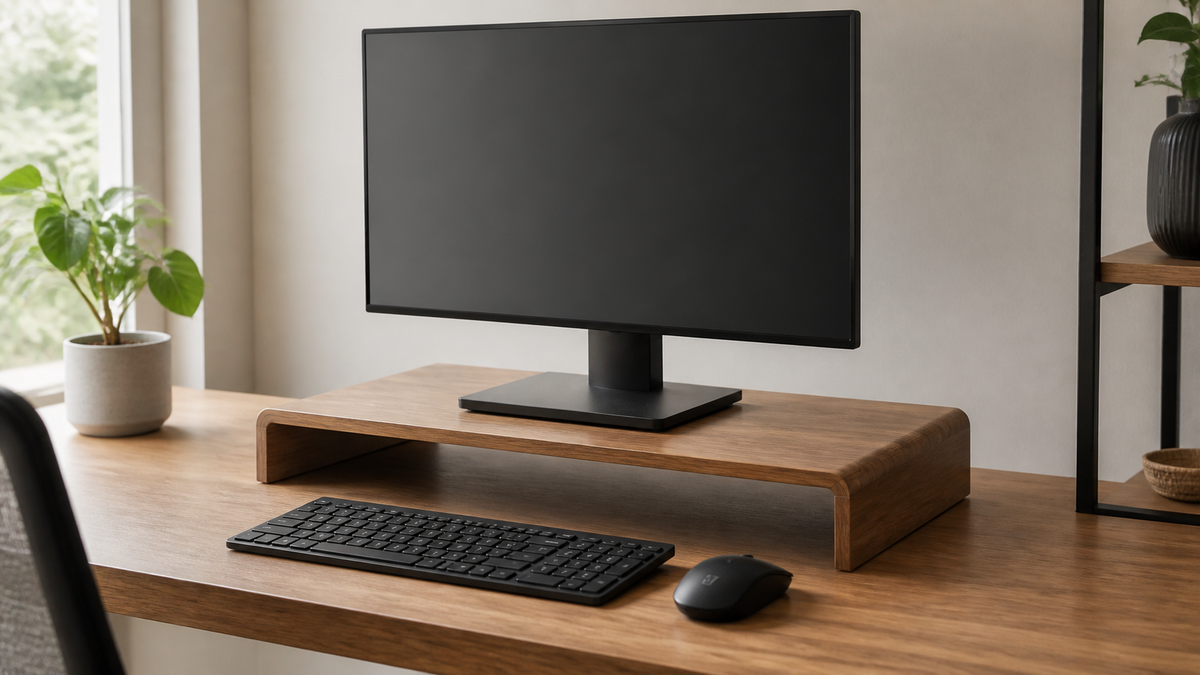
A purpose-built riser is usually the simplest answer when one monitor needs a modest fixed lift, the original base is stable, and the screen does not need to move often. It also avoids VESA or desk-clamp compatibility because the monitor remains on its original stand.
Choose the riser from four measured fields:
- lift: the height difference you measured, with enough adjustment or return flexibility to avoid overshooting;
- platform: wider and deeper than the monitor base, not merely wider than the screen’s center post;
- supported load: at least the monitor-plus-base weight under the riser maker’s stated conditions;
- desk footprint: enough remaining depth for the intended viewing distance, keyboard, mouse, and any writing area.
A riser is not automatically better because it adds storage. If storing a keyboard underneath requires pulling the monitor too close, or if the platform pushes the display toward the front edge, the storage feature has undermined the workstation fit.
Use a monitor arm when position needs to change
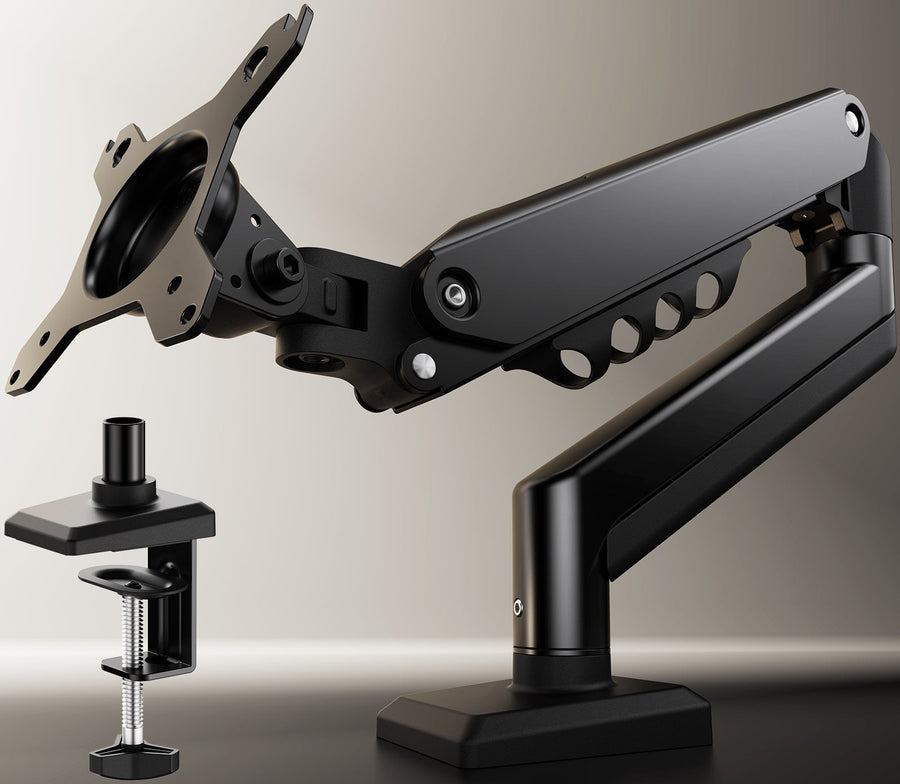
A monitor arm can be a better tool when you need to reclaim the original base footprint, move the display forward and back, accommodate sitting and standing, rotate a screen, or position two displays independently. It is not a universal upgrade: the display’s mounting interface and weight, the arm’s supported range, the desk material and thickness, the attachment method, and cable travel all have to agree.

For a current product example, review the exact compatibility fields on the OdinLake single monitor stand page rather than assuming that one arm fits every screen or desk. If the arm is compatible, use the verified setup and observation method in OdinLake’s monitor stand adjustment guide after installation. The OdinLake office accessories collection is a useful place to compare current single- and dual-screen options without turning a simple riser decision into an unnecessary mount change.
Place the monitor and verify the finished setup
Once the empty support passes, move the monitor with the screen off and the cables disconnected or fully slack. Large or awkward displays may require two people; follow the monitor manual for handling points.
- Center the support on a sound part of the desk, away from an edge where it can be bumped.
- Place the monitor base fully on the platform. Confirm each foot is flat and visible clearance remains around the base.
- Reconnect cables with enough slack for normal monitor adjustment. No cable should pull when the screen tilts or the desk moves.
- Gently touch the desk and operate the keyboard as you normally would. The screen may respond to desk vibration, but the base and support should not walk, rock, twist, or separate.
- Sit in your working position and check screen height, distance, centering, and glare. Lower or remove the support if you have to tip your head back.
- For a height-adjustable desk, test the full travel with power and display cables observed throughout. Stop if a cable tightens, catches, or pulls on the monitor.
Recheck an improvised support after the first work session and periodically thereafter. Compression, moisture, heat, or repeated desk movement can change a material that initially felt firm. Replace the support immediately if it bends, softens, slips, or becomes uneven.
Let the failed check choose the next option
If the screen height is already suitable, use no extra stand. If a fixed platform passes every support check and supplies the measured lift, a riser is enough. If the correct height changes during the day, the platform consumes needed depth, or the original base cannot reach the right position, investigate a compatible monitor arm. If the monitor manual, weight, base shape, or desk condition is unclear, pause rather than improvising around the uncertainty; OdinLake support can help with OdinLake monitor-arm questions, while the monitor manufacturer remains the authority for the display and its original base.
Frequently Asked Questions
Can I use books as a monitor stand?
Books can provide a temporary lift when the monitor manual permits a general flat support and the stack is broad, rigid, level, and unable to slide. Use same-size hardcovers, support the entire base, and reject any stack that shifts under a light desk nudge. A purpose-built riser is preferable when the setup will be used regularly because its dimensions and supported load can be checked.
How high should a monitor riser be?
The riser should supply only the lift needed to place the top of the visible screen at or slightly below your natural eye line while preserving a comfortable viewing distance. Measure the current screen-top height and your seated eye line rather than choosing a universal number. Progressive- or bifocal-lens users may need a lower screen.
Can I put a desktop monitor on a laptop stand?
Only if the stand manufacturer explicitly supports the monitor’s complete weight and base footprint. Many laptop stands are angled, narrow, ventilated, or designed around a different load pattern, so they may not keep a monitor base flat. If the entire base does not sit securely on a level surface, do not use it.
Is a monitor riser better than a monitor arm?
A riser is simpler when a fixed height increase solves the problem and the original base fits the desk. An arm is more useful when height, distance, rotation, or desk space must change, but it adds display, mount, desk, and installation compatibility requirements. Choose from the task and measurements rather than assuming the more adjustable option is automatically better.
Do I need a monitor stand if my screen is already at eye level?
No. If the screen is centered, readable at a comfortable distance, and its top is already at or slightly below your eye line, another riser may place it too high. Keep the original setup and reassess only when the chair, desk, screen, or primary user changes.
Can I use a cardboard box as a monitor stand?
A closed rigid box can be a short-term option only when it does not flex, crush, rock, or allow the monitor base to overhang. Shipping cartons, open boxes, damp cardboard, and boxes with weak lids are poor supports because their condition and load capacity are uncertain. Stop using the box at the first sign of deformation and move to a rated riser or compatible mount.