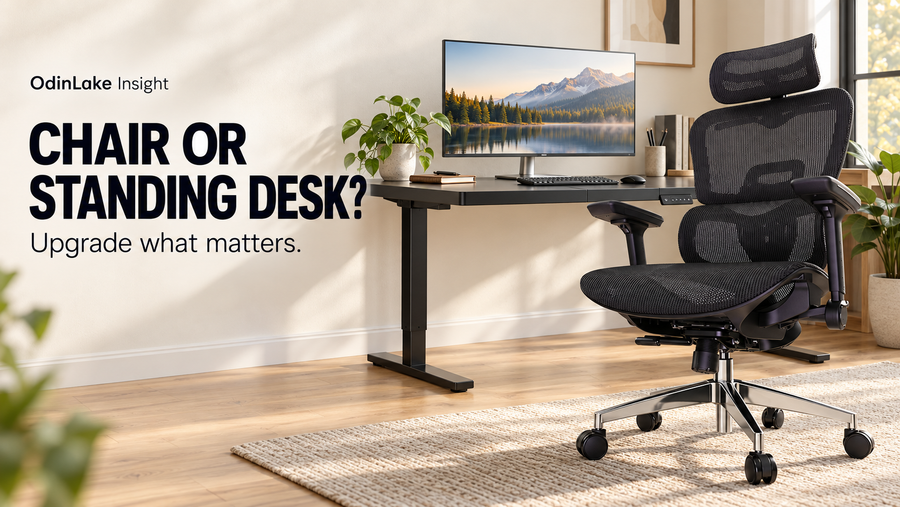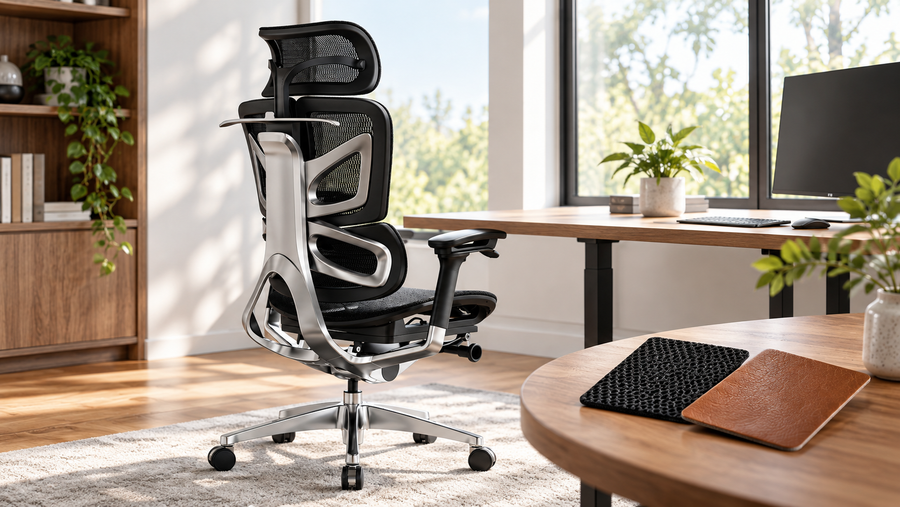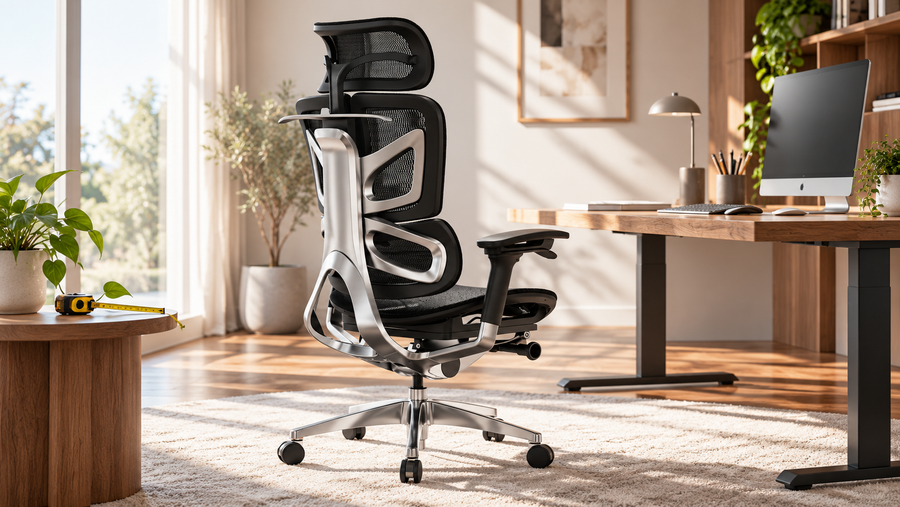
The right ergonomic setup should adapt to your body, support frequent movement, and stay comfortable through a full workday.
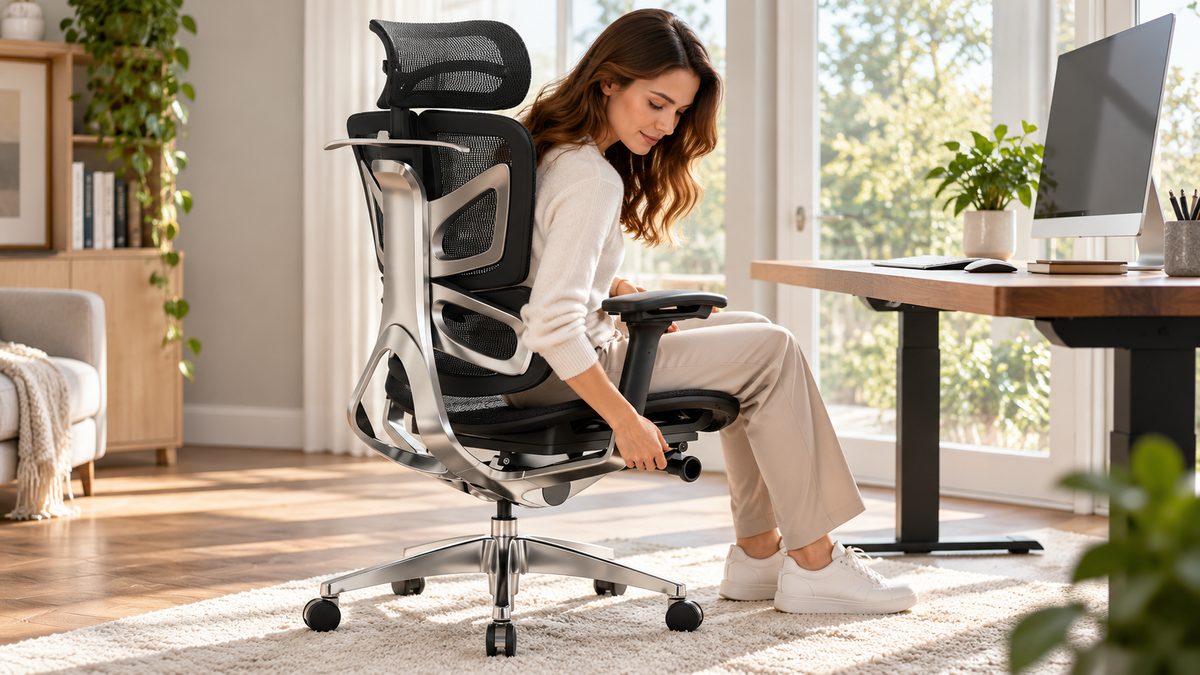
Many people own an adjustable chair and use it exactly as it arrived. A few minutes of setup can change how your back, hips and shoulders feel by the end of the day. Here is a simple six-step routine you can follow at your desk, whatever chair you use. Controls differ between models, so keep your chair's manual nearby.
Common Setup Problems
Before adjusting, it helps to know what usually goes wrong:
- The seat is too high, so the feet dangle or the thighs are pressed.
- The seat is too low, which pushes the knees up and rounds the lower back.
- Lumbar support is out of position and does nothing useful.
- Armrests are too high or too low, which strains the shoulders.
- The chair is locked upright, or rocking too freely.
Before You Start
Sit with your hips all the way back in the seat. Place the keyboard and mouse where you normally use them. Work from the bottom of the chair upward, since each step affects the next.
Step 1: Set the Seat Height
Adjust the seat height lever so your feet rest flat on the floor and your knees sit at about a right angle, or slightly more open. Your thighs should be roughly level with the floor. If your feet do not reach the floor at a height that suits your desk, add a footrest.
Step 2: Adjust the Seat Depth
If your chair has a seat slide, set it so a gap of about two to three fingers remains between the front edge of the seat and the back of your knees. You should be able to sit fully back against the backrest without pressure behind your knees. If there is no depth adjustment, a lumbar cushion can reduce the effective depth.
Step 3: Position the Lumbar Support
Slide the lumbar support so it meets the natural curve of your lower back, roughly at the level of your belt line. If it feels like it is pushing you forward, lower the firmness or move it down a little. The aim is gentle contact, not a hard push.
Step 4: Set the Backrest Angle and Tension
Many people do best with a slightly reclined posture of around 100 to 110 degrees rather than a rigid 90. Adjust the recline so your back stays supported while you work, and set the tension so the chair moves with you without feeling loose or too stiff. Lock the backrest in position if you prefer a fixed angle for focused tasks.
Step 5: Set the Armrest Height and Width
Let your shoulders drop and relax. Adjust the armrests so your elbows rest at about a right angle and your forearms are level with the desk or just below it. Bring them in or out so your arms are close to your body, not flared. If armrests keep you from sliding under the desk, lower them or move them out of the way.
Step 6: Check Your Screen and Desk Position
The chair is only part of the setup. Check that:
- The top of the monitor sits at or just below eye level.
- The screen is about an arm's length away.
- Your keyboard allows your wrists to stay straight.
- Your elbows remain close to your sides.
Quick Checklist
| Check | Target |
|---|---|
| Feet | Flat on floor or footrest |
| Knees | About a right angle |
| Seat edge | Two to three fingers from knees |
| Lower back | Gently supported |
| Elbows | About a right angle, shoulders relaxed |
| Screen | Top at or below eye level |
How Often Should You Readjust?
Revisit the setup when you switch tasks, change your shoes, move your desk or notice discomfort. Posture also shifts through the day, so changing position every so often matters just as much as the initial setup. Stand, stretch or walk briefly during long sessions.
Chairs Designed for Easier Adjustment
Chairs with clearly labeled, easy-to-reach controls make this routine much quicker. If you want to look at designs built around adjustability, browse the OdinLake ergonomic chair collection or explore the OdinLake O3 (Ergo BUTTERFLY 753), then use the product page and manual to see which adjustments it includes.
FAQ
What is the correct sitting position in an ergonomic chair? Feet flat, knees near a right angle, back supported, shoulders relaxed and elbows close to your body.
Should my knees be higher or lower than my hips? Aim for level or slightly lower hips. Knees noticeably higher than the hips tend to round the lower back.
How tight should the recline tension be? Tight enough that the chair supports you without letting you fall backward, but loose enough that it follows small movements.
Why does my back still hurt after adjusting my chair? Chair setup helps, but long static sitting is a factor too. Take regular movement breaks, and speak with a healthcare professional if pain continues.
Conclusion
Set the seat height first, then depth, lumbar, recline and armrests, and finish by checking your screen and desk. Repeat the routine whenever something changes, and spend a few minutes on it before you decide a chair is uncomfortable.