A mechanism-aware setup for fixed bases, pole stands, and spring-assisted arms, including dual monitors and standing-desk travel tests.
The right ergonomic setup should adapt to your body, support frequent movement, and stay comfortable through a full workday.
Adjust a monitor stand in this order: verify the monitor and mount are compatible, stabilize the base or desk clamp, balance any spring arm with the monitor attached, then set distance, height, horizontal position, tilt, and dual-screen alignment. Changing tension before checking the model instructions—or forcing a joint that uses a locking screw—can damage the stand or allow the screen to fall.
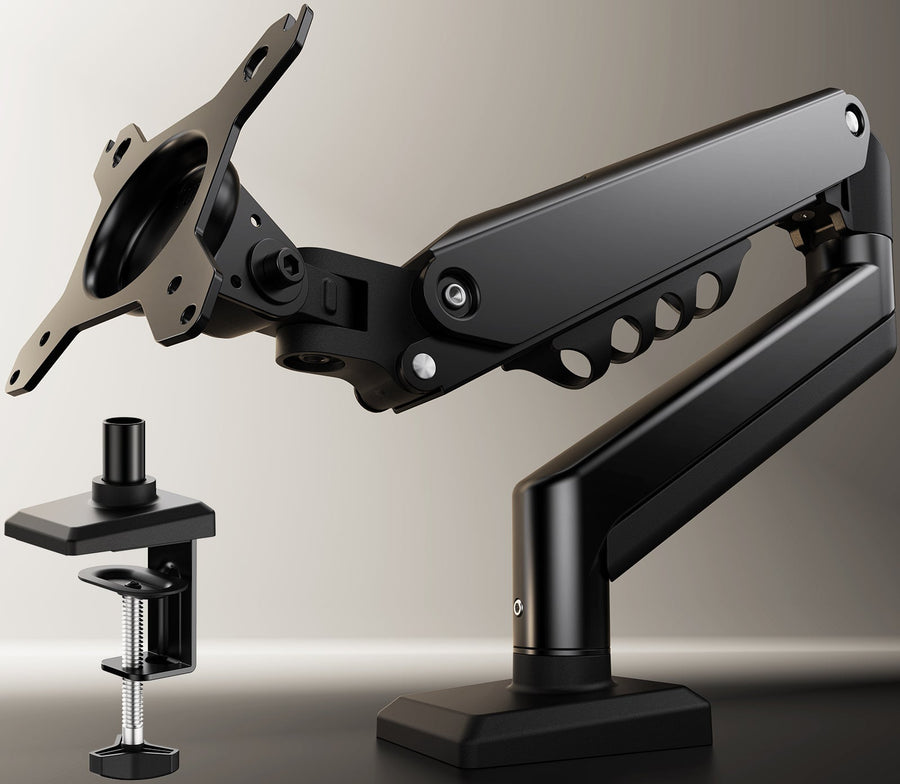
“Monitor stand” can mean the factory base supplied with a display, a freestanding pole stand, or a desk-mounted monitor arm. They do not adjust the same way. Identify which mechanism you have before reaching for an Allen key.
Identify the Adjustment System
| Stand type | Common adjustments | What usually controls them |
|---|---|---|
| Factory monitor base | Tilt; sometimes height, swivel, and portrait rotation | Sliding column, pivot hinge, or manufacturer release |
| Freestanding pole stand | Height, swivel, tilt, lateral spacing | Pole collar, arm clamp, VESA-head fastener |
| Spring-assisted monitor arm | Height, depth, swivel, tilt, rotation | Spring or gas tension plus joint fasteners |
| Dual monitor stand | Shared or independent height, spacing, angle, alignment | Crossbar/pole position, individual arms, micro-adjusters if provided |
Find the model manual and the weight range before adjustment. OdinLake’s current dual monitor stand and single monitor stand, for example, list compatible monitor weight ranges on their product pages. Screen size alone does not confirm compatibility; actual monitor weight, VESA pattern, attachment hardware, and center of gravity matter.
Make the Setup Safe Before You Loosen Anything
- Power off the monitor and remove items below it.
- Ask another person to support a large or heavy display.
- Confirm the VESA plate is fully engaged and all safety screws or locks are installed.
- Check that a desk clamp is seated on a structurally suitable area, not across a bevel, seam, cable opening, moving panel, or unsupported overhang.
- Inspect the desktop for crushing, cracks, bowing, or a loosening grommet mount.
- Use only the tool and adjustment point shown in the manual.
If the monitor is outside the stand’s rated range, the VESA adapter is incomplete, the mount is loose, or the desktop is damaged, stop. Tension adjustment cannot correct an incompatible or unstable installation.
Balance a Spring-Assist Monitor Arm
Spring tension is not the same as hinge tightness. Its job is to counter the attached monitor’s weight so the arm stays where you place it.
- Install the monitor and every item that will move with it, such as the approved VESA plate. Support the display throughout adjustment.
- Position the arm near the middle of its travel instead of fully extended.
- Locate the spring-tension fastener shown in the manual. Do not guess based on the nearest visible screw.
- Turn it in small increments in the marked direction. Test after each change while keeping a hand on the monitor.
- If the monitor sinks, the arm generally needs more counterbalance; if it rises by itself, it generally needs less. Follow the model’s markings because thread direction can vary.
- Stop when the monitor remains stable at several practical heights without excessive effort.
Never continue tightening past the stated limit. If the arm cannot balance a verified compatible monitor, recheck assembly and contact support rather than using friction or a cable tie as a substitute for the mechanism.
Set the Screen From the User’s Actual Working Position

Sit in the chair with the keyboard and pointer already placed. Adjust the chair and desk first so your feet, forearms, and input devices are supported. The monitor should meet that working position; it should not force you to move away from the backrest or reach for the keyboard.
1. Set viewing distance
Move the screen far enough away that you can read normal text without leaning forward. The U.S. Occupational Safety and Health Administration gives a general preferred viewing distance of 20–40 inches (50–100 cm), while recognizing that screen size, text size, vision, and task change the practical result. Increase interface text before pulling a monitor uncomfortably close.
2. Set height
For many users, the top line of the visible screen sits at or slightly below eye level, with the center below the straight-ahead gaze. The relevant check is behavioral: can you read with your head balanced over your torso, shoulders relaxed, and back supported?
Bifocal or progressive-lens users may need the screen lower and slightly tilted upward to avoid lifting the chin. A very large display may also need a lower position so the upper content does not require neck extension.
3. Center the primary display
Place the screen used most directly in front of the user. Avoid a permanent head turn. If two displays are used equally, place their inner edges together near the body’s centerline and angle them slightly inward.
4. Adjust tilt, swivel, and rotation
Use a modest tilt that keeps the panel approximately perpendicular to the viewing line and reduces glare. Adjust room lighting and screen orientation before increasing brightness. Rotate to portrait only if the stand, monitor, cables, and VESA interface support it; confirm the bottom edge and cables clear the desk through the full motion.
OSHA’s current monitor workstation guidance provides useful reference ranges, but comfort depends on the entire chair–desk–screen relationship, not one universal eye-level number.
Align Two Monitors Without Chasing Every Joint
Start with the primary monitor, then bring the secondary screen to it. Adjust one variable at a time:
- Set both displays to practical working distance.
- Match the visible top edges or the content areas—not necessarily the plastic housings.
- Bring the inner edges close enough to reduce repeated head movement without allowing them to touch.
- Angle both screens toward the user’s normal seated position.
- Use any model-specific micro-height adjustment last.
Different monitor sizes or off-center VESA mounts may prevent perfect housing alignment. Prioritize the primary display’s height and a comfortable transition between content areas over visual symmetry.
Test the Stand on a Height-Adjustable Desk
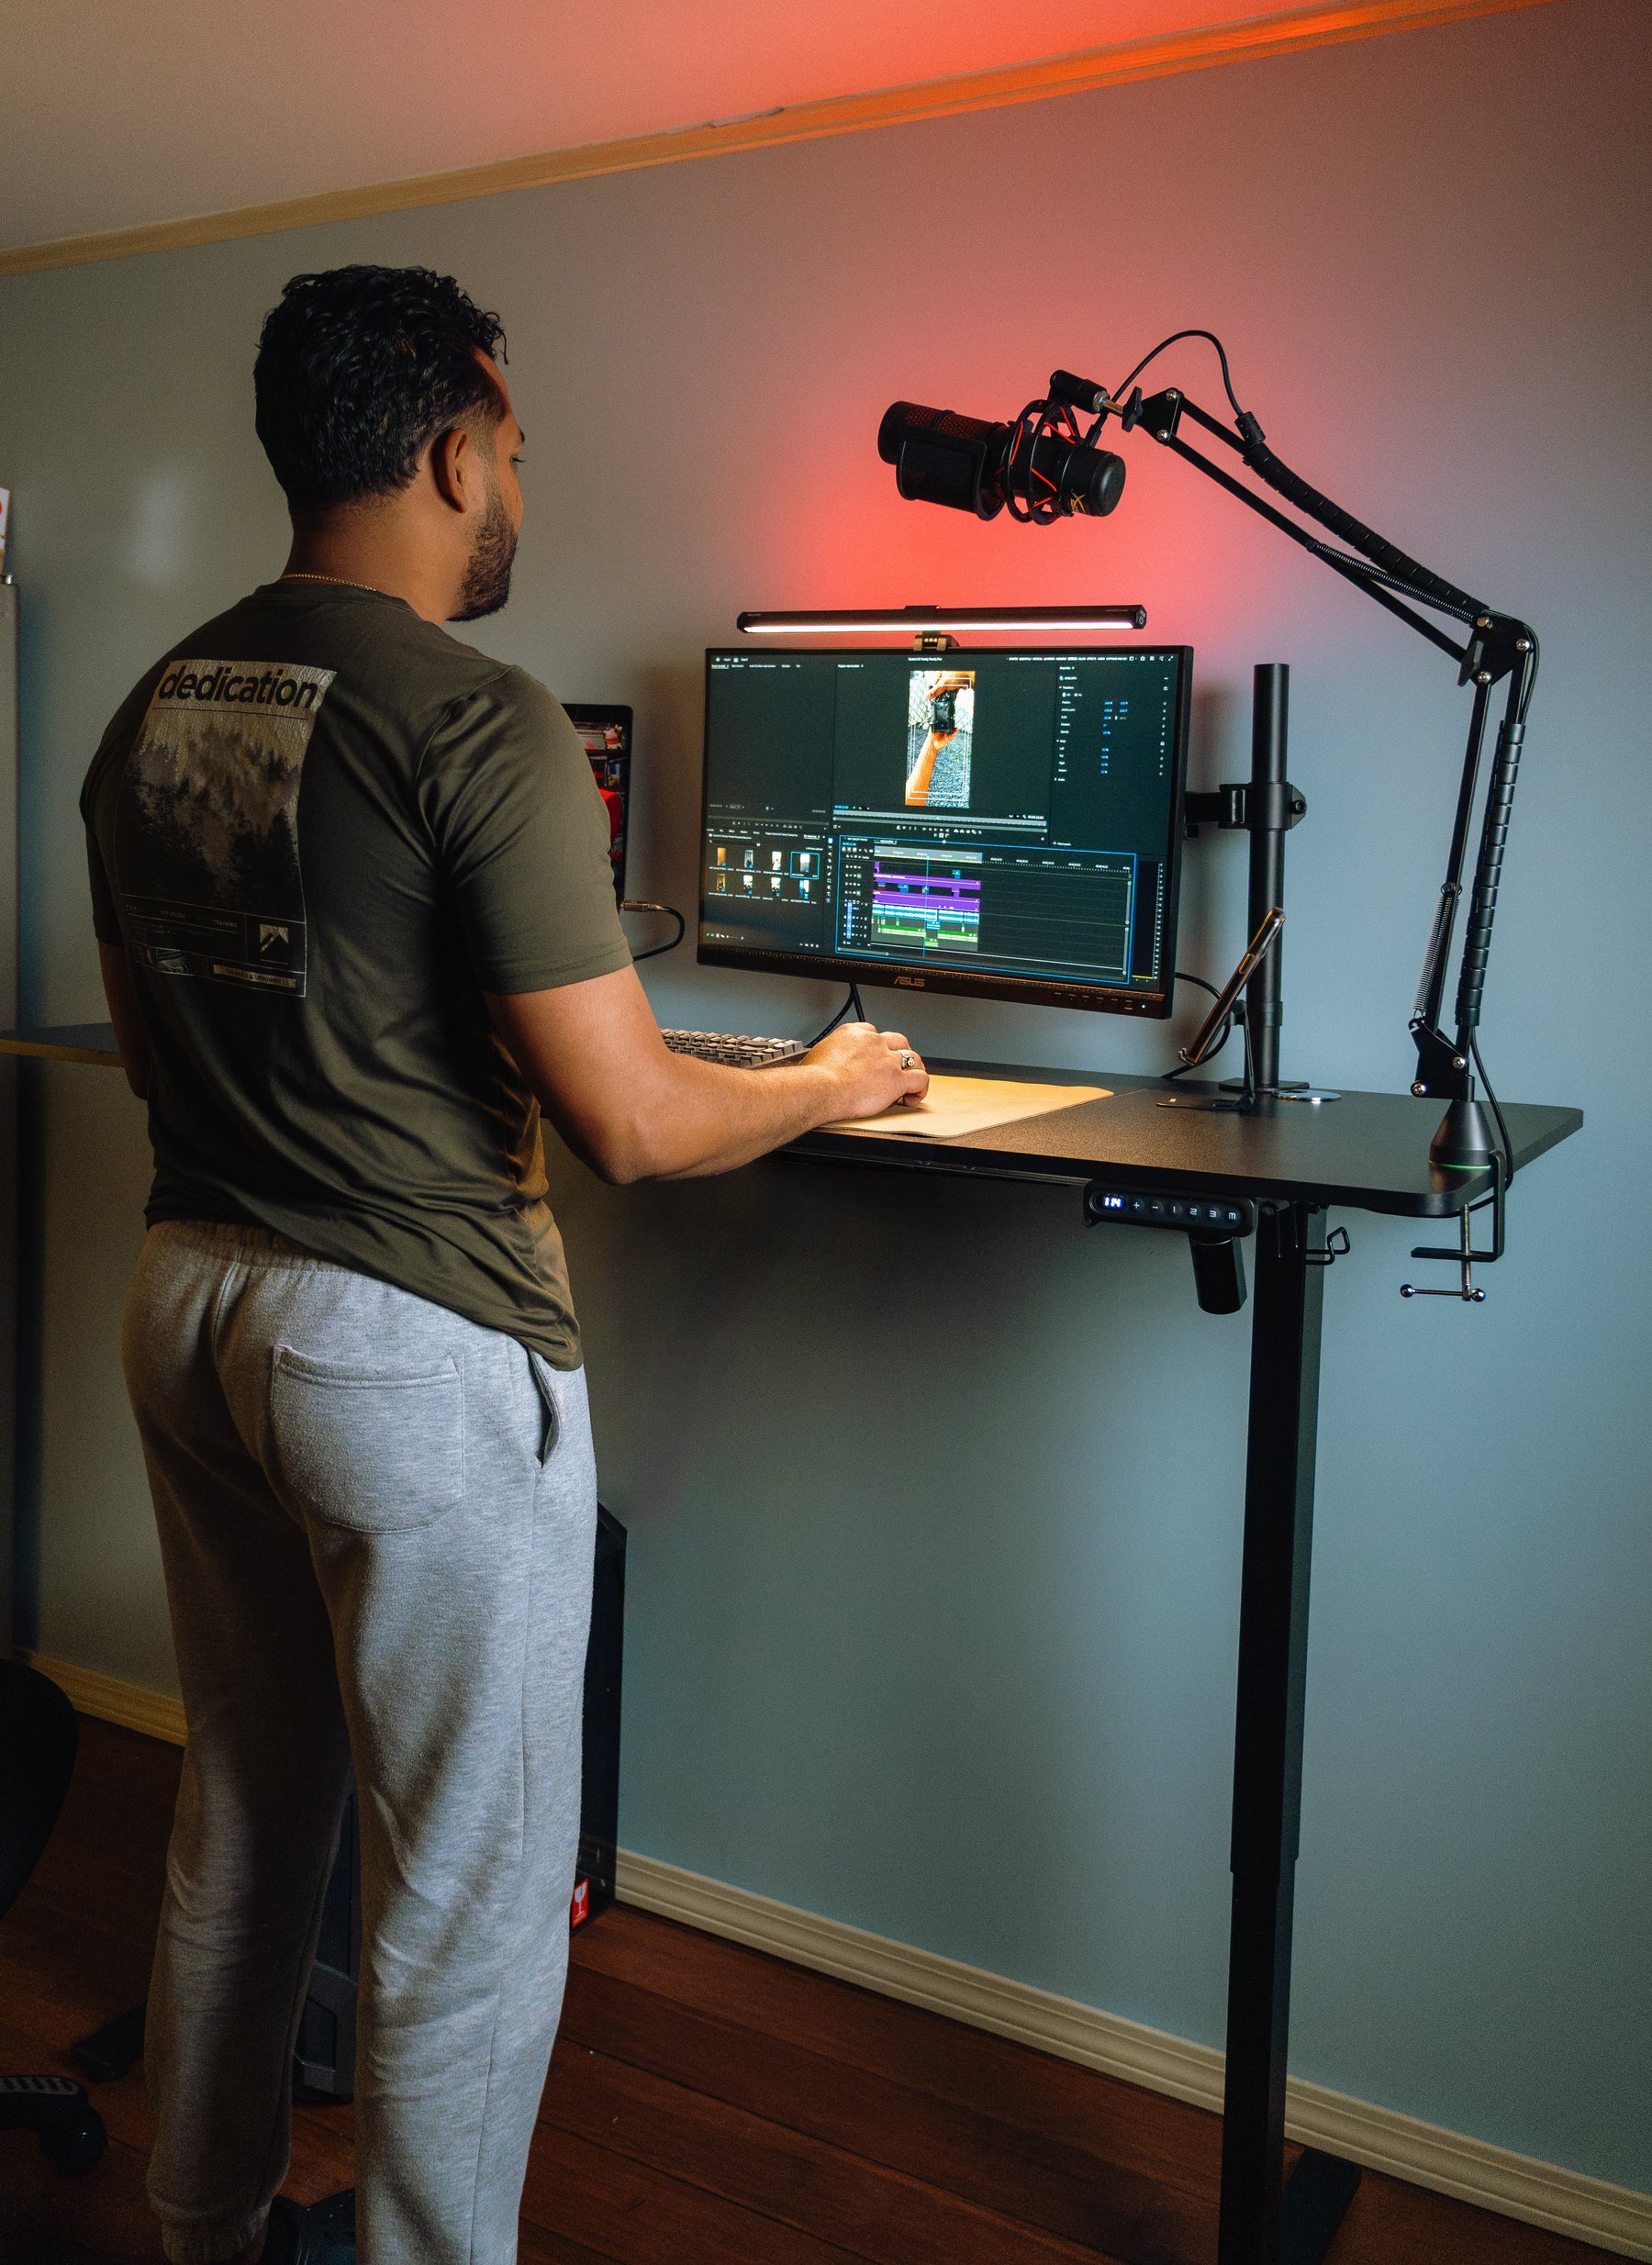
A monitor arm changes leverage on the rear of a standing desk. After adjustment, route cables with a service loop at each moving joint and enough slack for the desk’s full range. Keep cables away from pinching points and do not let the arm collide with a wall, shelf, lamp, or microphone boom.
- Move the desk slowly from the lowest to the highest intended height.
- Watch the clamp, desktop, arm joints, monitor clearance, and every cable.
- Stop if the clamp shifts, the desktop flexes unusually, a connector is pulled, or the display approaches an obstacle.
- Repeat the check from the user’s seated and standing positions; save desk presets only after both screen positions work.
For a height-adjustable workstation, run the arm and its cables through the desk's lowest and highest positions. The home-office standing desk guide explains how desktop depth, frame layout, and accessory loads affect the complete setup.
Fix Common Adjustment Problems
| Problem | Check first |
|---|---|
| Monitor sinks | Weight compatibility, complete VESA assembly, and spring tension at the correct fastener |
| Monitor rises by itself | Excess spring tension or a monitor below the supported range |
| Screen tilts forward | Tilt-joint adjustment and monitor center of gravity; do not confuse it with arm spring tension |
| Arm is hard to move | Joint lock, transport lock, excessive tension, or wrong adjustment direction in the manual |
| Dual screens will not line up | Unequal VESA positions, shared-height limitations, pole level, and micro-adjusters |
| Display shakes while typing | Clamp seating, desktop flex, arm extension, joint play, and desk stability |
Use OdinLake’s monitor-stand assembly resources for product-specific installation and adjustment. Contact support if a compatible screen will not hold position, a part is cracked, a joint has play after correct assembly, or the desktop mount will not remain secure.
Frequently Asked Questions
How high should a monitor stand be?
Set it from your supported working posture. A common starting point is the top of the visible screen at or slightly below eye level, then adjust for screen size, task, and eyewear until you can read without lifting or dropping the head.
How far should my monitor be from my eyes?
OSHA gives a general preferred range of 20–40 inches (50–100 cm). Choose a distance that keeps text readable while your back stays supported and your head remains over your torso; increase text size when needed.
Why does my monitor arm keep falling down?
The monitor may exceed the supported weight range, the VESA assembly may be incomplete, or the spring tension may be too low. Support the screen, verify compatibility, and adjust only the documented tension point in small increments.
Should I adjust monitor-arm tension with the monitor attached?
Spring-assisted arms are generally balanced against the installed monitor’s weight, so follow the model instructions with the display supported. Never release a screen or loosen a joint that the manual requires a helper to hold.
How do I make two monitors the same height?
Set the primary display first, match the visible content areas, then use independent height or micro-adjustment if the stand provides it. Different monitor housings or VESA locations may prevent exact physical edge alignment.
Why does my monitor move when I raise my standing desk?
A cable may be pulling, the arm may contact an obstacle, or the clamp may be shifting under leverage. Stop the desk, add safe cable slack, clear the full path, and verify the mount and desktop before testing again.