
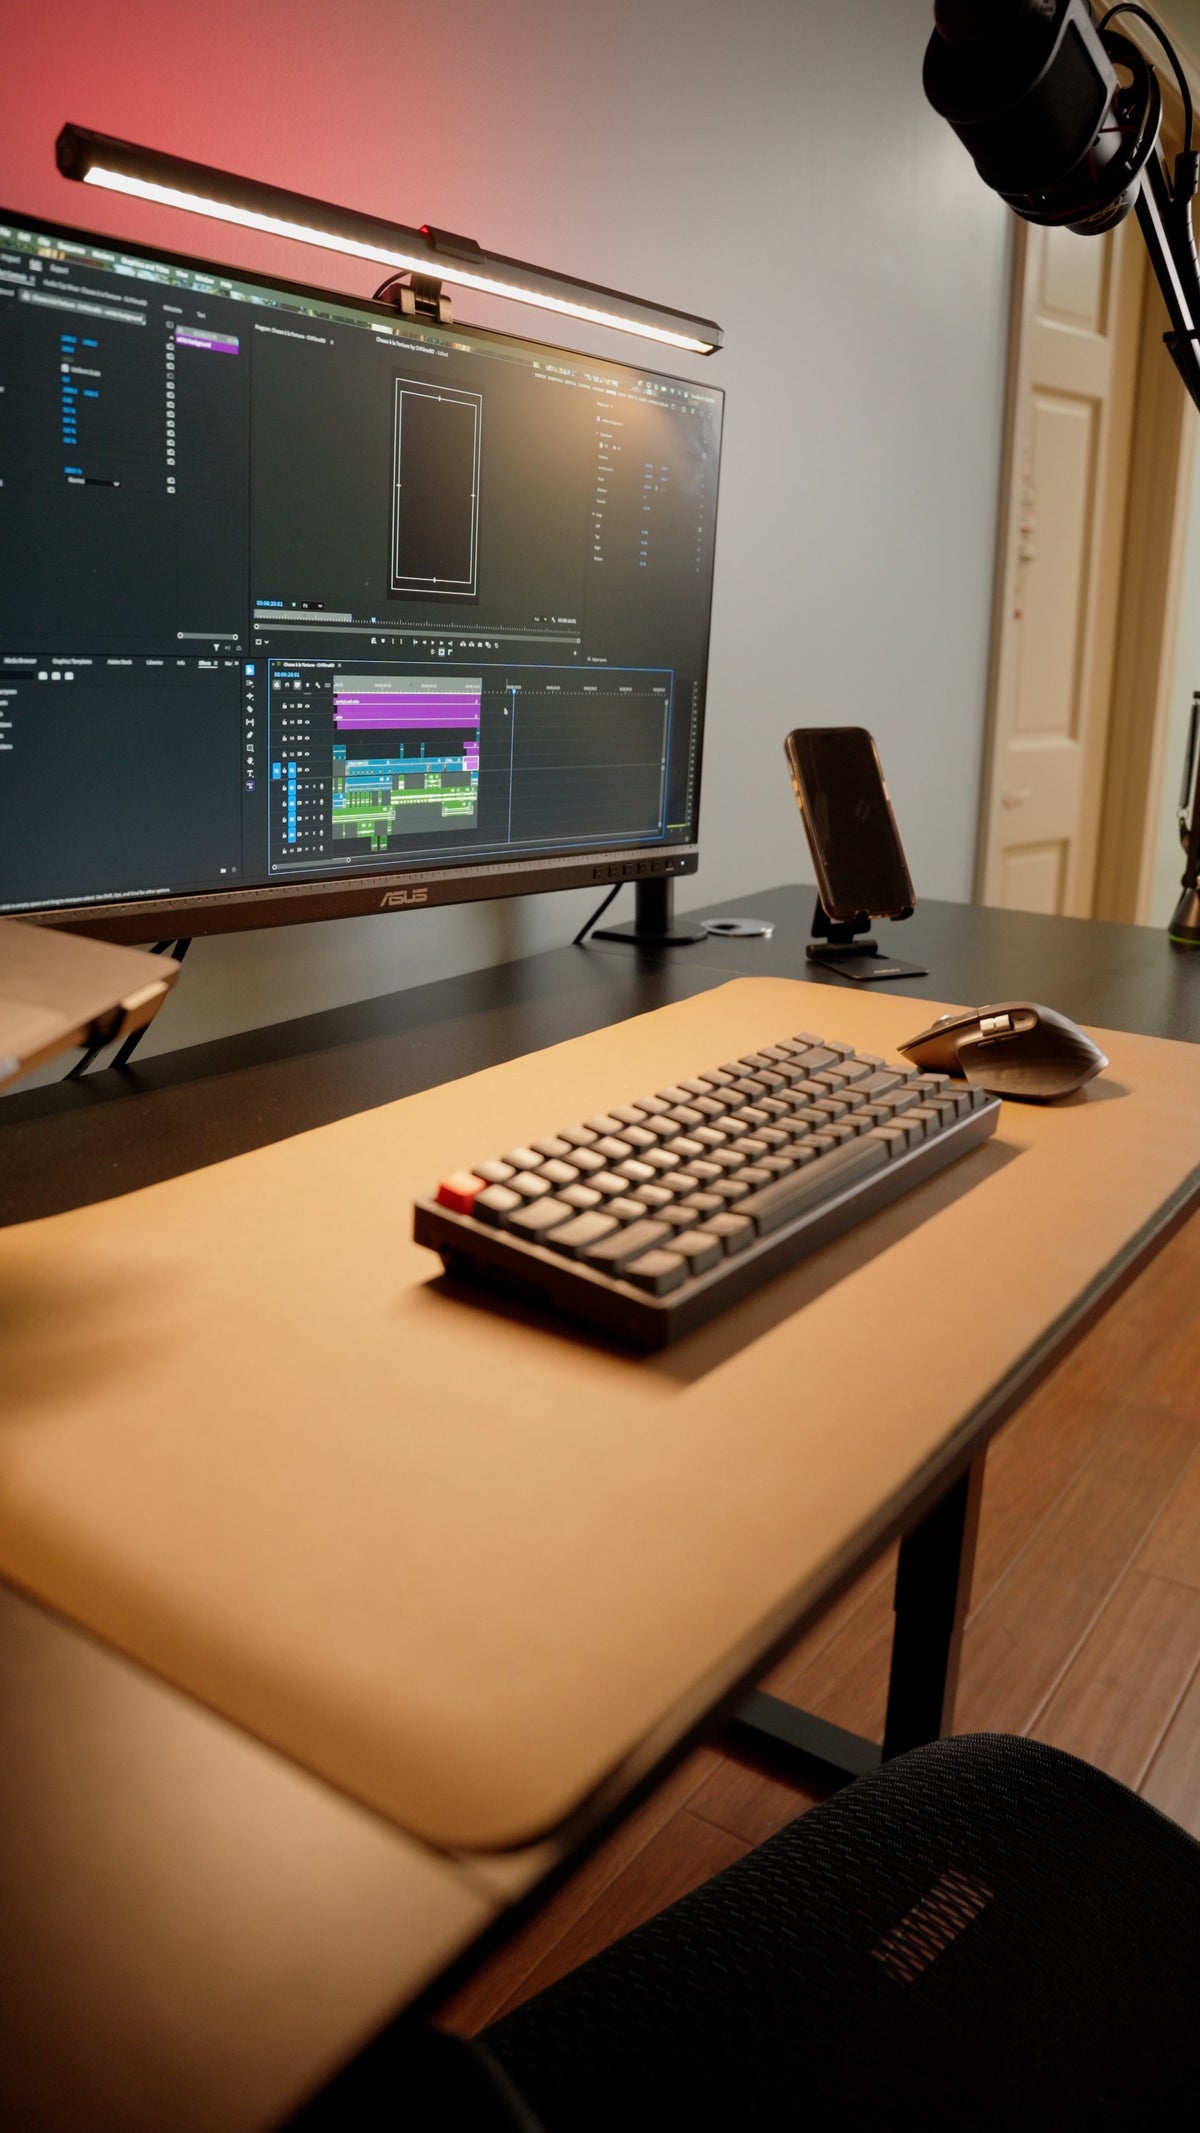
A source-by-source method for lighting a computer desk, placing a task lamp, and verifying that the screen, paper, and room work together without distracting glare.
The right ergonomic setup should adapt to your body, support frequent movement, and stay comfortable through a full workday.
A computer desk is lit well when three things are true at the same time: the screen has no distracting reflection from the working position, paper and controls are readable without leaning toward them, and the area around the display is not dramatically brighter or darker than the screen. Reach that result by isolating each light source, correcting the window and room light, then aiming a task light only where extra light is needed.
This guide covers a computer desk in a home or ordinary office. It does not replace a workplace lighting assessment, an electrical repair, or a vision examination. If a lamp or power adapter flickers, becomes unusually hot, smells burned, shows a damaged cord, or exposes live parts, unplug it if that can be done safely and stop using it. Do not open the fixture or bypass a safety feature.
Start by making every reflection visible
Do not begin by shopping for a brighter lamp. First find which source is reaching the screen or your eyes. The same desk may pass at night and fail when afternoon sun reaches a window, so perform the check during the hours you normally work.
- Set the desk as it is normally used. Sit at your usual viewing position, or check both seated and standing positions if the desk moves. Place the monitor at its normal height and angle.
- Show a dark gray or dark application window. A darker screen makes reflections easier to see while keeping the display in its real operating position. Look from your normal eye point; do not move your head around the room searching for a reflection.
- Switch off controllable lights. Leave the monitor on, then turn on one source at a time: ceiling fixture, desk lamp, monitor light bar, wall light, and any decorative backlight.
- Check daylight separately. Open and close blinds or shades and repeat the observation. Note whether a bright window is reflected in the screen, visible directly behind it, or lighting the screen face.
- Mark the source, not just the bright patch. A small note such as “left window at 3 p.m.” or “ceiling fixture above right shoulder” gives you a correction you can test.
A successful isolation check leaves only one variable changed at a time. If the reflection remains after a lamp is switched off, that lamp was not the only source. Continue until the reflection appears and disappears with a specific source or window condition.
Give each light one clear job
Computer work combines self-lit content on a monitor with objects that reflect light, such as paper, a keyboard, and a notebook. That is why one powerful ceiling light or one bright lamp often creates a new problem while solving another. The published review of lighting at computer workstations identifies several interacting variables—including illuminance, brightness relationships, direction, glare, color temperature, color rendering, and flicker—rather than treating lamp brightness as the whole answer.
| Lighting job | What it should make visible | What to test | What it does not replace |
|---|---|---|---|
| Ambient room light | Walking paths, surrounding furniture, and the area around the display | No bare bright source in the normal field of view; no strong screen reflection | Focused light for small print or detailed handwork |
| Task light | Paper, notebook, keyboard, drawing surface, or another physical task | The beam reaches the task without reaching the screen face or your eyes | General room visibility |
| Call light | Your face on a video call | The camera image is readable without a bright lamp or window reflected in the monitor | Desk-surface lighting |
| Optional wall or bias light | The wall behind the monitor | It softens an extreme bright-screen/dark-room contrast without shining into the display | Paper or keyboard illumination |
The jobs can share a fixture only when each required condition still passes. A monitor-mounted light may cover the keyboard and a notebook, for example, but it is not useful if its beam appears as a bright streak on a glossy screen.
Fix the window before adding another lamp
Daylight changes more than an electric lamp, so solve its path first. OSHA's computer-workstation environment guidance recommends arranging screens to minimize glare from windows and lights, with the screen face at right angles to windows or other direct light sources where practical.
- If the window appears as a reflection, rotate the monitor or desk until the screen is closer to perpendicular to the window. Confirm that the new position still preserves a straight viewing and input path.
- If a bright window sits directly behind the monitor, use an adjustable blind or shade to reduce the brightness difference. A decorative light behind the screen will not block direct sun.
- If the window is behind you and reflected in the display, control the window or change orientation; increasing monitor brightness alone does not remove the reflection.
- If the desk cannot move, test a small change in screen angle only if the display remains stable and readable. Recheck overhead-light reflections because solving one angle can reveal another.
For a bedroom or shared-room workstation, window control must also work with doors, furniture, privacy, and nighttime use. Those room-level constraints belong in the broader remote work setup guide; this article owns the lighting test after a candidate desk position exists.
Place a task light by watching the beam
The task light should illuminate a physical task, not the monitor. The Canadian Centre for Occupational Health and Safety notes that paper typically needs more light than a self-lit monitor and advises aiming a task lamp at the document rather than the screen.
- Put the real task on the desk. Open the notebook, document, drawing tablet, or small controls you need to see. A bare desk cannot show where shadows will fall.
- Start with the lamp off to one side. Keep the bulb or bright emitting surface outside your normal line of sight. If your writing hand casts a strong shadow, try the opposite side, but keep the beam test—not handedness—as the deciding condition.
- Aim downward at the task area. The expected result is readable detail on the desk without a bright lamp image on the screen. If the screen reflects the lamp, move the lamp farther to the side, lower its output, change its angle, or shield the source.
- Check the screen from the working eye point. A beam that misses the screen from across the room can still reflect toward the seated user. Sit down before accepting the position.
- Move your hands through the task. Type, write, and use the mouse. Reposition the lamp if the arm or microphone blocks it, if the lamp base occupies required mousing space, or if a cable crosses the desk's movement path.
Test a monitor light bar like any other task light
A monitor light bar can free desk space and direct light toward the keyboard, but its location does not guarantee a reflection-free result. Check that the mount fits the display without covering a camera, vent, control, or sensor. Then repeat the dark-screen test at the real screen angle. Accept the bar only when the useful beam reaches the desk and stays out of the screen and your eyes.
On a height-adjustable desk, raise and lower the desk through every saved position while watching the cord, power adapter, monitor mount, and light beam. The setup fails if the cable pulls tight, enters a pinch area, or the changed eye position reveals glare. Route power according to the fixture and desk instructions; do not stretch a cord or suspend an adapter by its cable.
Tune the display after the room is stable
Screen brightness is a display control, not a substitute for window shades or room lighting. Once the external sources are stable, set the display so text and interface elements are readable without squinting or leaning. Compare a light page and a dark application because reflections can be hidden by one and obvious on the other.
Do not chase a universal percentage for monitor brightness or a single color temperature for every person and task. Display size, finish, content, room brightness, time of day, and visual needs change the result. Color-critical work also has requirements that an ordinary comfort check cannot verify. If text remains difficult to read after reflections are controlled, increase text size or contrast and consider qualified vision or workplace guidance instead of continuing to increase lamp output.
OSHA's monitor guidance also notes that tilting a display can change overhead-light glare. Any angle change should therefore be checked for both image clarity and reflections, not judged from the monitor's position alone.
Run the setup through actual work
Lighting is ready only after the complete desk passes the tasks and times that matter. Run this check without changing several settings between trials:
- Read a light-background page for several minutes.
- Open the darkest application you normally use and look for reflected windows, lamps, fixtures, and your own outline.
- Read or write on paper while watching for a hand, monitor, or microphone shadow.
- Join a camera preview if video calls are part of the work. Adjust a separate call light only if needed, then recheck the screen.
- Repeat at the brightest and darkest normal working times. For an adjustable desk, repeat seated and standing.
The setup passes when the screen remains readable without a persistent reflected source, the physical task is visible, normal hand movement does not create an obstructive shadow, and no cable or fixture becomes unstable when the workstation moves. Record the successful lamp position or control setting so it can be restored after cleaning or rearranging the desk.
Match a failed check to its likely source
| What you can observe | Likely source to isolate | Next low-risk test |
|---|---|---|
| A window or lamp shape appears on dark content | Direct reflected glare | Switch off or cover that source, then rotate or reposition the screen and repeat from the eye point |
| The screen looks washed out only at one time of day | Changing daylight | Adjust the shade and test the screen perpendicular to the window |
| Paper is hard to read but the screen is clear | Insufficient task light | Add a shielded, adjustable beam to the document without increasing light on the screen |
| The keyboard is bright but a white streak crosses the display | Desk lamp or monitor light bar angle | Change the fixture angle or position; accept it only after the streak disappears |
| The screen is comfortable, but the surrounding room feels like a black void | Extreme brightness difference | Add low, diffuse room or wall light that does not enter the screen |
| Light visibly pulses, cuts out, or changes when the cord moves | Fixture, driver, plug, or cord fault | Stop using the light and follow the manufacturer or qualified service path |
If a lamp base, clamp, monitor stand, and keyboard cannot coexist on the available surface, brightness adjustments will not solve the space conflict. Measure the equipment footprint using the method in How Deep Should a Computer Desk Be? A stable clip-on fixture or monitor bar may recover surface space only when its mount is compatible. If the complete setup still fails, compare the measured requirement with the current OdinLake desk collection rather than buying another light for an overcrowded surface.
Frequently Asked Questions
What is the best lighting setup for a computer desk?
Use diffuse room light for the surrounding space, add an adjustable task light only for paper or detailed desk work, and set the monitor after reflections are controlled. A separate soft light may be needed for video calls. The best arrangement is the one that passes the dark-screen, paper, hand-shadow, and day/night checks at your actual seat.
Should a desk lamp be beside or behind the monitor?
Place it where its beam reaches the physical task without reflecting from the screen or shining into your eyes. That is often off to one side, but there is no universal side or distance. Switch the lamp on by itself and view a dark screen from the working position before accepting the location.
Is it better to use a computer in a dark room?
A completely dark room is not a required computer setup. If the screen becomes the only bright object and the contrast feels uncomfortable, add low, well-distributed room or wall light that stays out of the display. If the room is already visible and the screen has no reflections, more light may not help.
Does a monitor light bar prevent screen glare?
Not automatically. Its optics, position, output, monitor finish, screen angle, and your eye position all affect reflection. Test the bar on a dark screen and keep it only if the useful beam lights the desk while the display remains free of a bright streak or source image.
How bright should computer desk lighting be?
There is no single lamp output that fits every screen-and-paper task. OSHA and CCOHS publish workplace guidance with conditions, but a bulb's advertised output does not describe the reflection at your screen or the light reaching a document. Use observable task checks at home; for regulated, shared, precision, or persistent problem workspaces, use the applicable standard and a competent lighting assessment.
Should a computer screen face a window?
A screen directly facing a bright window can put high brightness in your line of sight, while a window behind you can reflect in the display. A position with the screen face at right angles to the window is a practical starting point, followed by a real-time check with the blinds open and closed.
