A model-first method for deciding whether a monitor can move from its original base to another stand or arm—before buying hardware or removing anything.
The right ergonomic setup should adapt to your body, support frequent movement, and stay comfortable through a full workday.
You can change a monitor stand when the display supports a removable base or approved mounting interface, the replacement supports the display's actual weight and mounting pattern, and the desk or wall can support the new mount. A matching screen size or four holes on the back is not enough. Confirm the exact monitor model, its mounting instructions, the replacement stand's limits, the required fasteners, and the mounting surface before removing anything.
The answer is “not yet” when the original stand attachment is proprietary, the manual does not describe removal, the display has no approved adapter, the monitor falls outside the replacement's load range, or the desk edge cannot accept the clamp. This guide gives you a go/no-go method before you buy or disassemble. It does not replace the instructions for your exact monitor and stand.
Start with the exact replacement you mean
“Monitor stand” can describe three different products. Compatibility changes with the destination, so name it before checking specifications.
- Another original-style base: a replacement foot and upright that attach where the factory stand was installed. This is usually model-specific even when two monitors look alike.
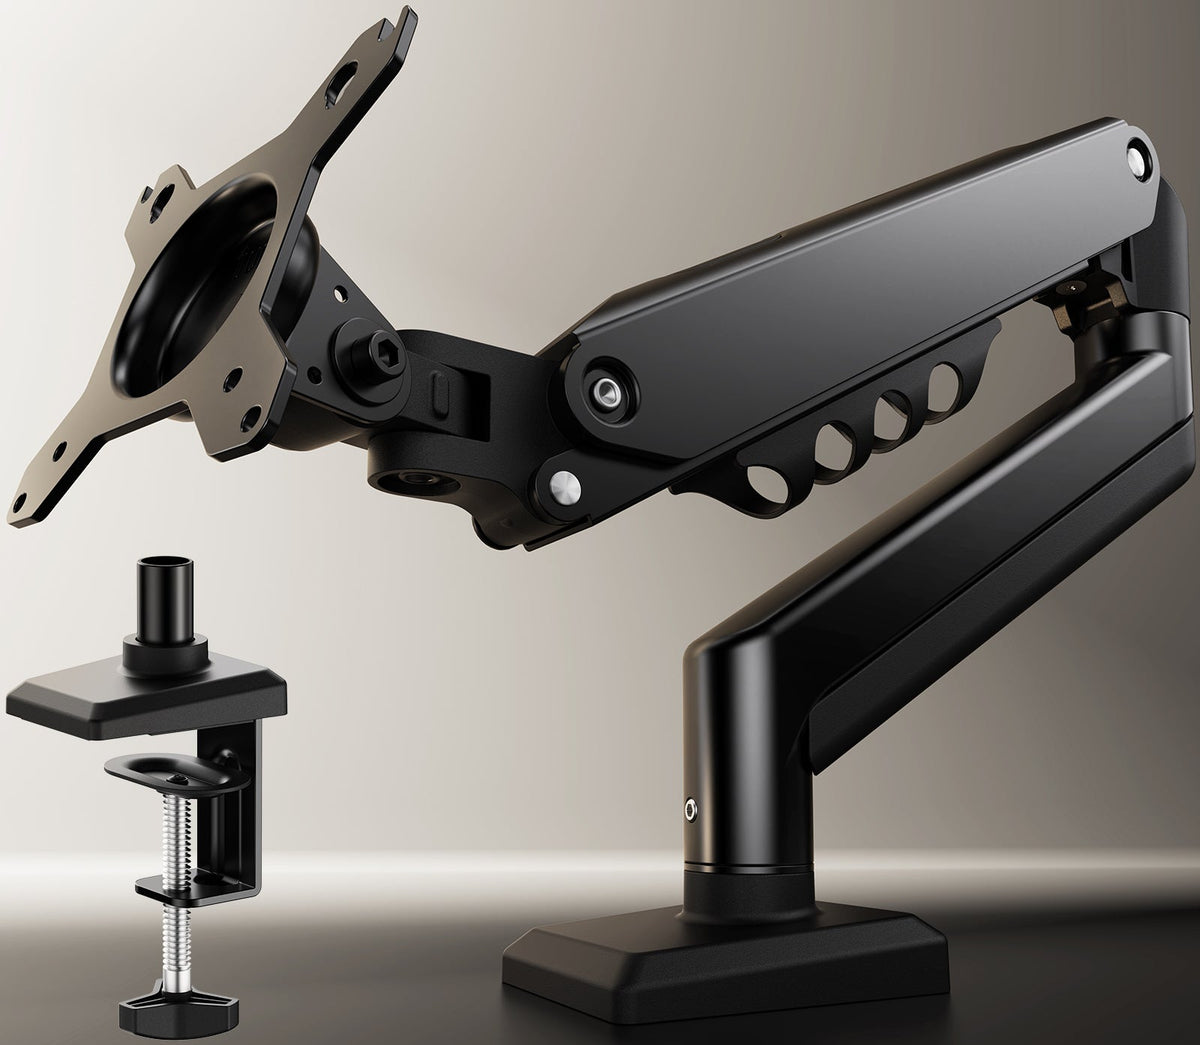
- A desktop monitor arm or third-party stand: a support that normally connects to a standardized mounting interface on the back of the display, then clamps to the desk, passes through a grommet, or rests on a freestanding base.
- A wall mount: a bracket fixed to an appropriate wall structure. The monitor may use the same mounting interface, but the wall, anchors, location, and installation risk form a separate compatibility problem.
A monitor riser is different. It raises the entire original base and does not replace the stand attached to the screen. If your only problem is a display that sits slightly too low, a stable riser may solve the placement problem without removing the factory base.
Build a compatibility record before shopping
Use the monitor label and current manual, not the product name printed on a retail receipt or an online image. Record the complete model and variant, because one monitor family can contain different rear housings, factory stands, and mounting provisions.
| Field to verify | Where to find it | Pass condition | Reason to stop |
|---|---|---|---|
| Exact monitor model | Rear label, settings menu, invoice, and manufacturer support page | The manual and specification page match the unit in front of you | The model suffix or regional variant remains uncertain |
| Factory-stand removal | Monitor setup or service instructions | The manual shows a user-removable base or neck and any release method | Removal requires opening the housing or the manual gives no user procedure |
| Mounting interface | Monitor manual and rear-mount specification | The monitor and replacement share the same stated interface, or an approved model-specific adapter bridges them | The hole pattern, recess, adapter, or plate clearance does not match |
| Display weight | Monitor specifications and replacement-stand manual | The correct mounting weight, defined the same way by both sources, remains inside the support's stated range | The only number available includes packaging, accessories, or the removable factory base |
| Fasteners and spacers | Both product manuals and the supplied hardware list | Thread, diameter, length, engagement, washer, and spacer instructions agree | You would need to guess, shorten, stack, or substitute hardware |
| Desk or wall support | Mount manual plus desk or wall construction information | The mounting location meets every thickness, edge, clearance, and structural condition | The surface is damaged, hollow where support is required, obstructed, or outside the listed range |
The decision passes only when every row passes for the same monitor-and-stand combination. Two products can each be “VESA compatible” and still fail because of weight, a recessed back, plate interference, unavailable screws, or an unsuitable desk.
Read the VESA information as an interface, not a promise
The Video Electronics Standards Association mounting standard describes standardized interfaces between flat displays and mounting equipment. On a product specification, the mounting pattern is normally written as horizontal spacing by vertical spacing in millimeters. Verify that value from the monitor manufacturer rather than estimating from the diagonal screen size.
A matching pattern establishes only part of the mechanical connection. It does not tell you the allowed monitor weight, screw length, whether spacers are needed, whether the holes sit inside a recess, or whether the mounting plate blocks ports or ventilation. Those conditions come from the monitor and mount documentation.
Check the plate against the entire rear surface
Look at the mounting area, cable ports, curved housing, vents, protrusions, and the path the plate takes during attachment. A plate can share the correct hole spacing yet fail to sit flat. Do not grind the plate, force it across a raised housing, or use an improvised spacer stack. Use only the adapter or spacer arrangement approved for that exact display-and-mount combination.
Treat screw length as model-specific
Do not choose screws by diameter alone. A screw that is too short may not achieve the required engagement; one that is too long can bottom out or damage the display. Use the fastener type, length, washers, spacers, and tightening instructions stated by the monitor or mounting-system manufacturer. Stop if the two manuals conflict.
Match the support's complete load range
An adjustable arm may specify both a minimum and a maximum supported load. The manufacturer may define monitor weight without the removable factory stand, but do not assume that convention. Compare numbers that describe the same configuration, and include any approved adapter or required accessory when the mount instructions say it counts toward the load.
Check what the new support will attach to
A compatible monitor and arm can still be an incompatible workstation. Inspect the mounting surface before ordering.
For a desk clamp
Measure the desktop thickness at the intended location and compare it with the current mount instructions. Check the top and underside for bevels, aprons, rear panels, cable trays, control boxes, frame rails, drawers, and grommet hardware. The clamp pads need full, flat contact; a narrow lip or an obstruction can leave only part of the clamp supporting the load.
Identify the desktop material and condition. A split edge, loose laminate, cracked glass, water-swollen composite panel, or unsupported thin section is not a sound clamping location. Do not compensate by overtightening. Ask the desk or mount manufacturer whether a reinforcement plate is approved for the exact surface.
For a grommet mount
Confirm that the mount is designed for grommet installation and that the existing opening, underside access, hardware, and surrounding desktop meet its instructions. A cable hole is not automatically a structural mounting hole. Do not drill a powered or unfamiliar desk until you know the frame, wiring, control box, desktop construction, warranty boundary, and required method.
For a height-adjustable desk
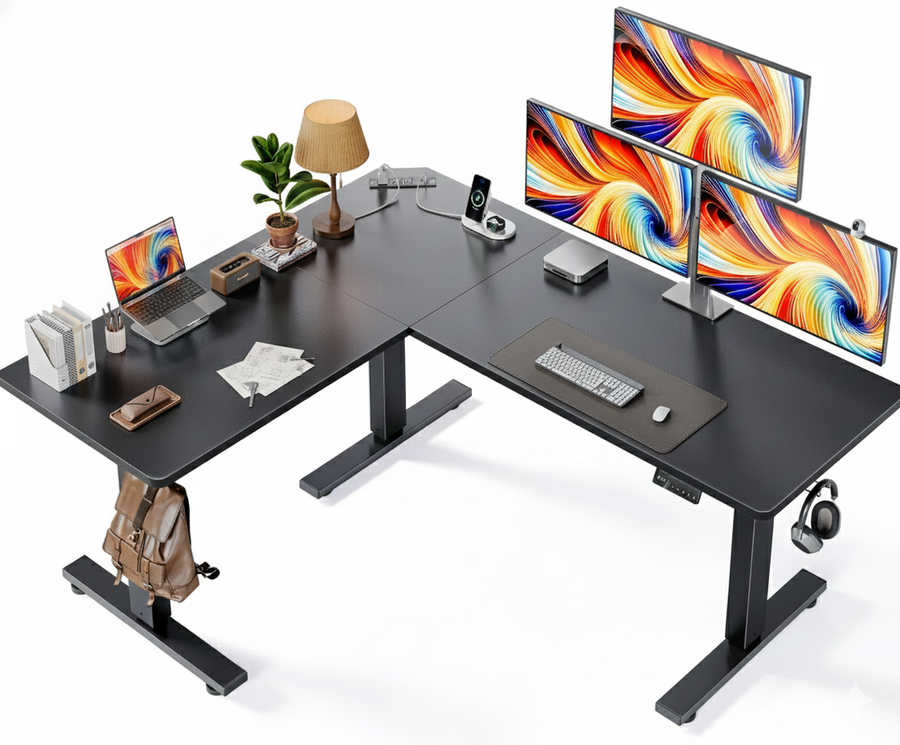
Plan the complete movement envelope, not only the seated position. The arm, display, cables, and clamp must clear the wall, shelves, windowsill, desk frame, control box, and other equipment through the desk's full travel. Leave enough cable slack for movement without letting cables pull on ports or enter a pinch point.
Choose the replacement type by the problem you are solving
A replacement should correct a documented limitation. If the factory base is broken but its position worked, an exact original-style replacement may be the simplest route. If the screen needs more height, depth, swivel, or desk clearance than the original base provides, an adjustable arm may be appropriate. Two monitors add another decision: a dual arm can share one desk attachment, while two independent single arms can offer separate placement and may require more usable edge space.

OdinLake currently provides separate pages for its single monitor stand and dual monitor stand. Treat the live product page and current instructions as the controlling source for mounting pattern, supported load, display scope, desk attachment, and included hardware at the time you order. Do not transfer a field from one product page to the other.
Make the change only from both current manuals
Once the combination passes the compatibility record, use the monitor manual for removing the original base and the replacement-stand manual for assembling and attaching the new support. A safe sequence normally includes powering down and disconnecting the display, protecting the screen on the surface specified by the manufacturer, supporting the display while the original stand is released, attaching the specified plate and hardware, securing the desk or wall mount, and keeping the display supported until every lock or retainer is confirmed.
That sequence is intentionally general. Release buttons, covers, necks, screw access, spacer locations, quick-release plates, tension systems, and retaining hardware vary by model. Do not copy a video for a similar-looking display. If the manual is missing, retrieve it from the manufacturer or pause the change.
Stop instead of improvising
Stop for a cracked housing, stripped or damaged mounting insert, bent plate, missing retainer, uncertain screw, blocked ventilation, damaged cable, unstable desk edge, or any instruction that requires opening the display. Keep hands clear of spring-assisted joints until the mount manual states when and how the monitor should be attached. For an OdinLake stand question that the current page or guide does not resolve, use OdinLake support with the monitor model, stand SKU, mounting pattern, display weight source, and desk details.
Verify the result as a workstation, not just a secure connection
After the mount is secured according to both manuals, test at the lightest-risk state: keep cables free, move the display slowly within its intended range, and watch the clamp, plate, joints, and screen. Stop if the attachment shifts, the display drops or rises on its own, hardware loosens, the desk flexes, or a cable becomes taut.
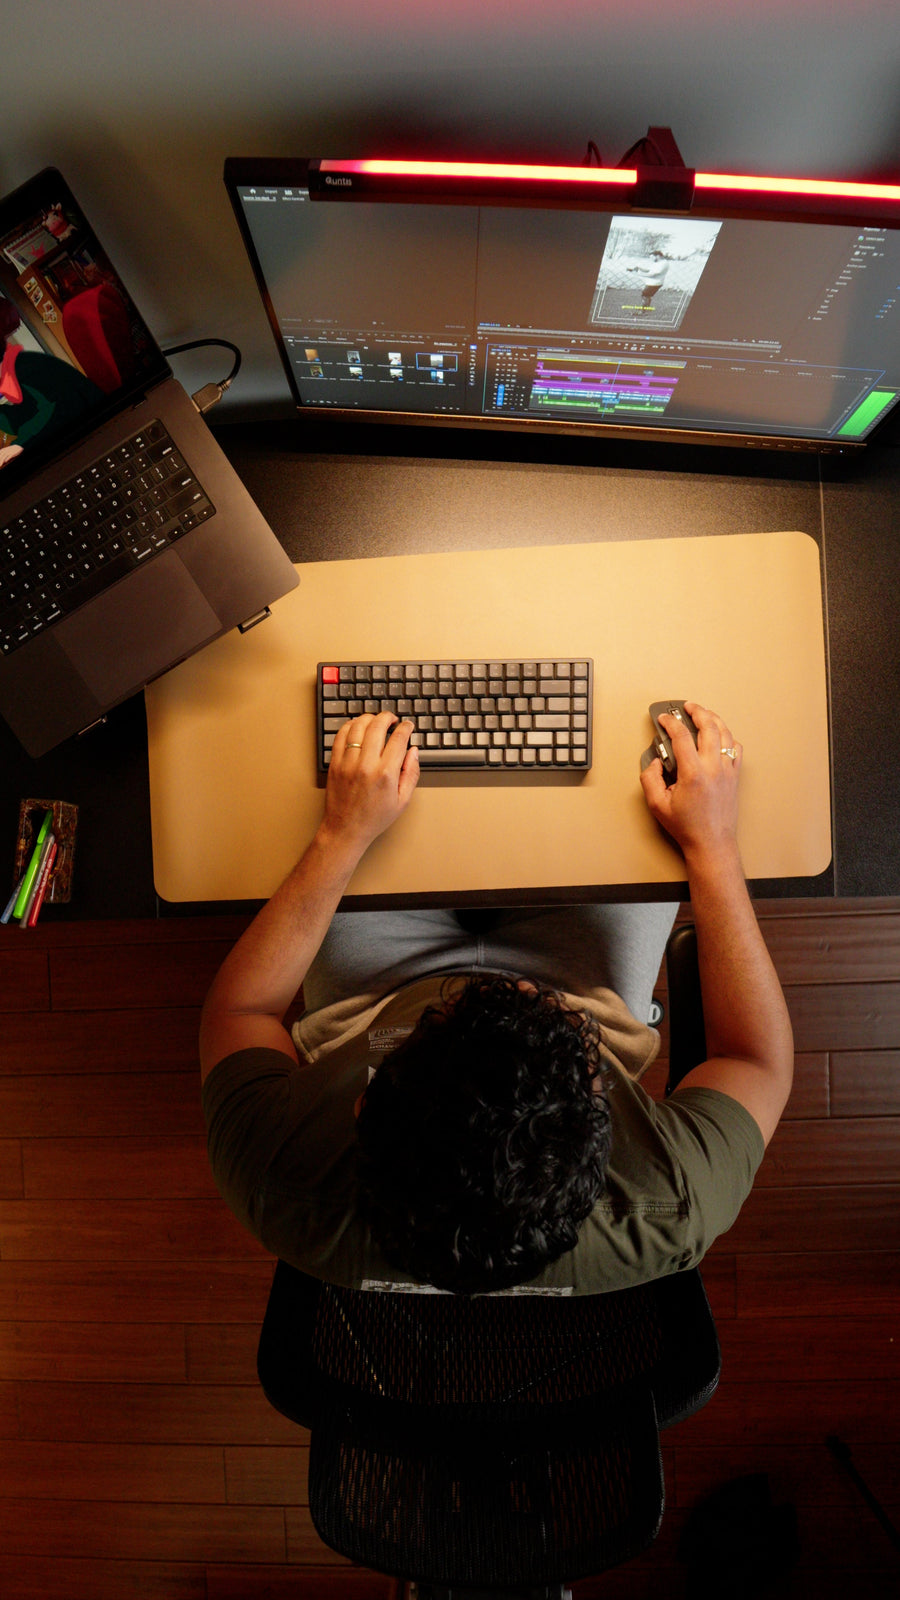
Then judge placement from the actual chair and keyboard position. OSHA's computer-workstation guidance recommends considering the monitor together with the desk, chair, and keyboard; it also emphasizes a readable viewing distance, a screen at or slightly below eye level, and a primary display positioned in front of the user. These are starting points, not a reason to force one universal height. Bifocals, large displays, shared workstations, and specialized visual tasks may require a different position.
If the new support is compatible but the screen position still fails the real task, use the separate monitor stand and arm adjustment guide for height, distance, tilt, spring tension, dual-screen alignment, and standing-desk travel. Compatibility answers whether the hardware can work together; adjustment determines whether the finished workstation fits the user.
Frequently Asked Questions
Can every monitor use a monitor arm?
No. The monitor must support a suitable mounting interface or an approved model-specific adapter, and the arm must match the interface, mounting weight, plate clearance, fasteners, and intended installation. A monitor with a proprietary non-removable stand or no approved adapter may not be suitable for a third-party arm.
How do I know whether my monitor is VESA compatible?
Search the exact model number in the monitor manual or manufacturer's specification page and look for its stated VESA or FDMI mounting pattern. Rear holes are a clue, not proof: confirm the pattern, screws, spacers, recess, weight, and removal instructions in the documentation.
Are replacement monitor stands universal?
No. Original-style bases are often model-specific, while VESA-style arms still vary by pattern, supported weight, plate shape, hardware, motion range, and desk attachment. “Universal” marketing does not override either product manual.
Can I mount a monitor that has no VESA holes?
Only when the monitor manufacturer or a properly specified model-specific adapter provides an approved mounting route. Do not rely on adhesive, straps, improvised brackets, or a visually similar adapter to carry the display. If no supported route exists, keep the original base or choose a different monitor.
Does monitor size matter if the weight and VESA pattern match?
Yes. Screen width, curvature, rear-housing shape, center of gravity, plate recess, and the arm's clearance and motion range can affect fit even when weight and hole pattern match. Check every limit listed by the monitor and mount manufacturers.
Can a monitor arm attach to any desk?
No. Clamp and grommet mounts require specific desktop thickness, edge geometry, underside access, material condition, and structural support. Glass, damaged composite panels, narrow lips, obstructed undersides, and unfamiliar hollow constructions require explicit approval or another mounting solution.